
STT-shaft twist tester NK
Twist test with digital camera
Documented leak tightness of waves with an adapted digital camera
The requirements for a sealing seat vary depending on the application. This means that it is not possible to specify universally valid surface structure parameters for the sealing surfaces of the shafts that are strictly tolerable. Nevertheless, the tightness of a shaft is largely determined by the roughness and waviness of the surface. This function-relevant superimposition of roughness and waviness is mapped in a surface section of approx. 2mm x 2mm with the help of the optical twist test(shaft twist tester NK).
Application background
Measurement method
 The requirements for a sealing seat vary depending on the application. This means that tolerable, universally valid surface structure parameters for the sealing surfaces of the shafts cannot be specified. Nevertheless, the tightness of a shaft is largely determined by the roughness and waviness of the surface. This function-relevant superimposition of roughness and waviness is mapped in a surface section of approx. 2mm x 2mm with the help of the optical twist test. The surface roughness causes a characteristic scattered light distribution, while the surface waviness creates diffraction stripes in the test image. With the help of the STT R100 NK device, which is equipped with a digital camera, these characteristic scattered light images can be documented photographically.
By using the standardized Micro-Four-Thirds (MFT) bayonet catch, the test device can be equipped with commercially available digital cameras that have an MFT interchangeable lens adapter. The optical twist test is carried out in live image mode via the LCD display of the digital camera. The recorded test images can be transferred to a PC via a USB connection and integrated into a test report using the software supplied. Using application-specific sealing surface sample parts (tight, leaky, borderline), reference scattered light images can be identified and used as comparison samples for an optical quality test.
Specifications
Technical specifications
- Optical twist tester with digital camera
- Direct visual twist test using the LCD display of the digital camera
- Software for creating test reports
- Twist period measuring range: DP 20 - 500 μm
- Twist depth: Dt> = 200 nm *
- Axial back focus: 15 mm
- Shaft diameter: 5 - 300 mm
- Illumination source: laser diode module laser class 2
* Specification for Rz = 2 μm (specification depends on roughness and twist period, permissible roughness. Ra 0.1 - 0.5 μm)
Optional accessories
Accessories will help in some extra function.
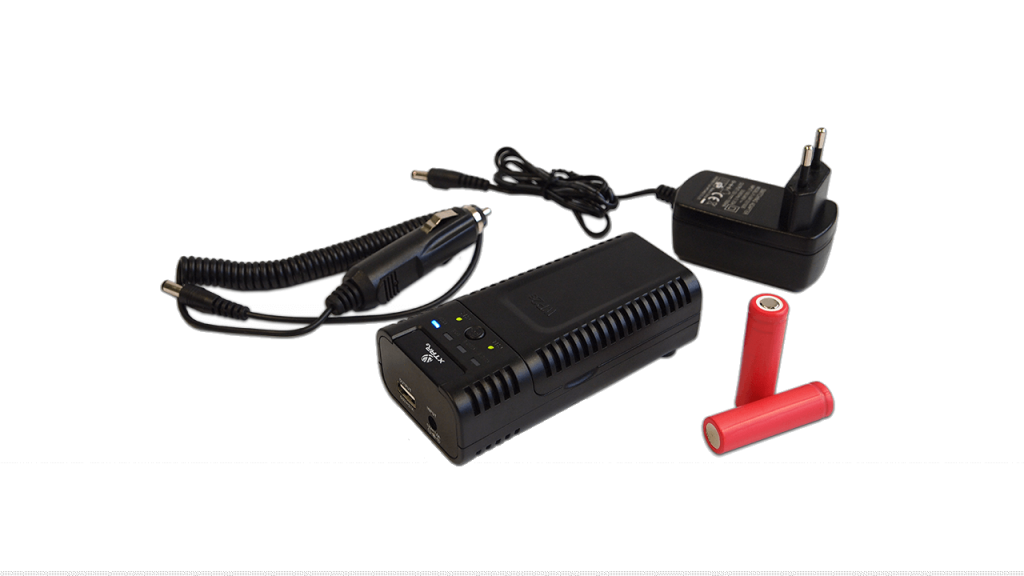
- Battery charger for STT
- Charger + 2x battery (similar to picture)
- Voltage (batteries): 3.6 volts (branded lithium-ion batteries)
- high quality universal 2-channel charger
- LED status display
- This article is suitable for the following models: STT NO, STT NK, STT NV
